Thou shall not text a girl multiple questions at a time
Month: November 2022
-
-
An engineer’s guide to growing mushrooms
Read from top to bottom. The information builds as you read along. Information in gray boxes is just extra
Start with spores
Spores are seeds. Each spore will grow into a mini root structure. These mini root structures need to combine with other spore-root-structures. Once they do, they become a mycelium. Mycelium is the root system we’re interested in for the purpose of growing mushrooms.

Spore growing into a mini root system (called a hypha)
https://www.anbg.gov.au/fungi/mycelium.htmlAlternative to getting spores, you can also get a live culture. A live culture is just a very young mycelium. I’d say it’s better to buy a live culture if you can because because it’s further along growing and less likely to fail.
Psychedelic mushrooms are illegal in the US. Live cultures of psychedelic mushrooms are also illegal in the US. I think it’s because live culture already has some psilocybin in it. But spores are legal in most of the US.
Typically spores OR live culture will come in a syringe. There are other options (spore prints) but that’s out of the scope of this guide.
Spores need their version of “soil”
Like placing seed in soil, you need to put spores/live culture into a nutrient source.
Technically live culture is already in a nutrient source (agar). Think of a live culture as a baby plant in a small pot. Eventually you’ll still want to move it to a larger pot.
In nature the nutrient source might be a pile of dead leaves. In a lab and for home-grown mushrooms it’s typically grain like rye, but it’ll depend on what type of mushrooms you are growing.
Problem is that grain is a great nutrient source for plenty of other organisms that you’re not trying to grow. So before you put your spores in a bunch of delicious grain, the grain needs to be sterilized. In other words, heat up the grain so you kill off anything that’s already trying to eat it. To keep it simple, you can just buy pre-sterilized bags or jars of grain

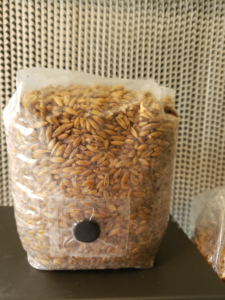
Sterilized grain in a mason jar 
Sterilized grain in a bag. The black thing is an injection port “Planting” the spores
Now you want to get the spores into the sterilized grain, like planting seeds in soil. The only challenge is if you open the bag of sterilized grain, there’s a chance other organisms can get in. For example, airborn spores of mold (mold is also fungus btw) can make their way into the bag while it’s open. So the process to solve that is to inject the spores with a needle. You wipe the needle + bag with a disinfectant, then inject. The process of injecting the spores/live culture into the grain is called innoculation.
Sterilized grain bags will typically come with an injection port, as pictured above. You’d stick the needle through that part.
Let the root system (mycelium) develop
After innoculation, you store the bag/jar in a room-temp dark place. After a few days, it’ll look like this:

Partially colonized grain The white stuff is your mycelium. The process of it taking over your grain is called colonization. Once it looks to have taken over 95+% of the grain, you’d say it’s fully colonized. Oftentimes people will shake/break the grains up when the mycelium has colonized 20-40% of the grain. Shaking it up can speed up the mycelium growth so you get to that 95% colonization faster
This whole time, you keep the grain in a dark, 70[ish] degree (F) place. And you don’t provide it fresh air! You do this by keeping the bag sealed shut or the jar closed tight. We want to force the root system (mycelium) to grow strong and healthy first. Then we’ll provide fresh air when we’re ready to force the fruits (mushrooms) to grow.
When the mycelium is grown aka colonization is near 100% aka the grain looks almost totally covered in white stuff, it’s time to start the next step.
Spawning to bulk substrate aka re-potting to a larger pot
Bulk substrate is just more nutrients for the mycelium to munch on. It can be different ingredients – sometimes manure, [other examples]. Spawning just means putting the mycelium in an environment it will grow in. You’ll typically read it as “Spawning to bulk substrate” = getting the mycelium to grow in bulk substrate.
One benefit of bulk substrate is it’ll have more water content then grain. Mushrooms like humid environments, so a bulk substrate with moisture will be able to provide that. If you tried sticking with only the grain, it will likely be too dry for the mushrooms to grow healthy.
In order to spawn to bulk substrate, you’re going to have to open the bag/jar of colonized grain. This will expose it to fresh air, thus creating a risk of contamination and can trigger fruiting. However a little bit of fresh air one time won’t be enough for fruiting (it’s actually helpful to add a little fresh air at this point anyway). And since we waited for the grain to be fully colonized, there’s less risk of contaminants because our favorable mycelium has already consumed / claimed so much of the grain already.
To keep risk of contamination low, keep your area clean, don’t leave things open too long, wipe your hands, bag, equipment with sanitizing solution like isopropyl alcohol.
Give your colonized grain a good shake to break it up. Then, pour your colonized grain into your bulk substrate bag and then mix that thoroughly. You can also do it the other way around by pouring bulk substrate into your colonized grain bag. If you want a larger yield, you could split your colonized grain across multiple bags of bulk substrate. If one bag gets contaminated, you’ve got other bags that may still have a shot.

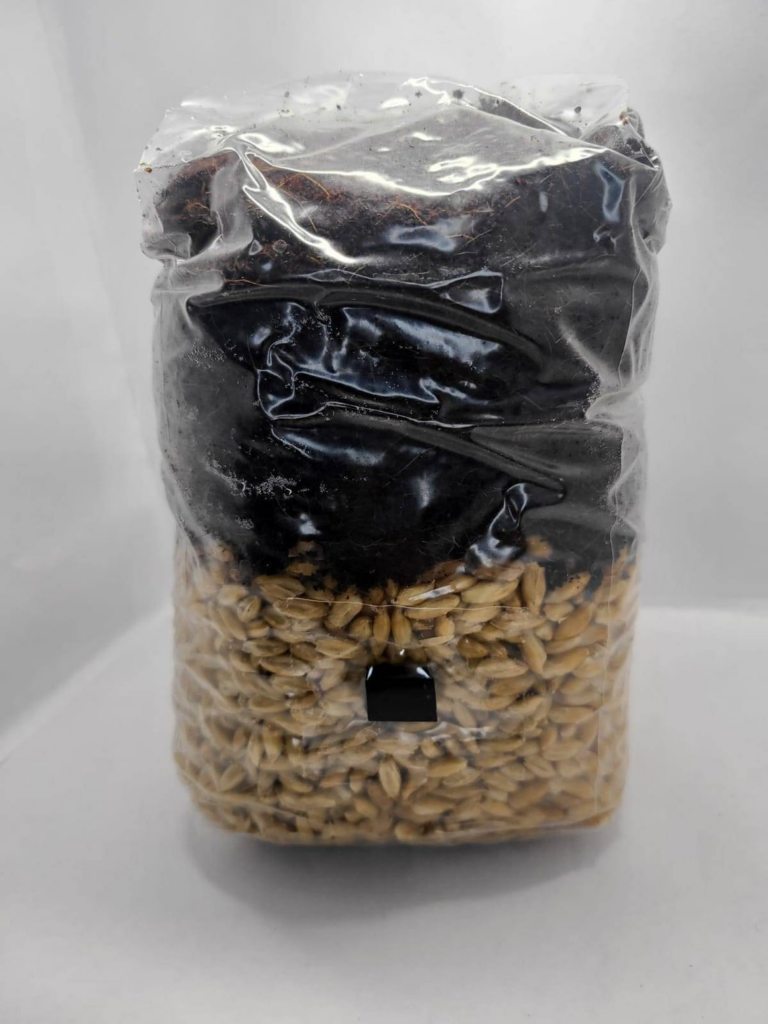
There are all-in-one grow bags where the bulk substrate and sterilized grain are in the same bag, as pictured above. Notice the grain at the bottom and bulk substrate on top. For those, you just shake them up Now you repeat the colonization step. After spawning to bulk substrate you seal up the bag/jar to limit fresh air, put it in a dark place and let the mycelium grow / consume the bulk substrate. When it’s 95% colonized again, we’re finally ready to begin fruiting
You don’t have to fully seal the bag. Folding the opening and applying a paperclip will be enough. By sealing we just mean limiting fresh air supply and limiting exposure to contaminants.
Begin the fruiting
Mushrooms (fruits) grow best given 2 environmental factors: fresh air and high humidity. Fresh air is easy – just open the bag. Humidity is easy too – the bulk substrate is moist and holds a lot of water, so the air in the bag is likely to stay humid. But if we open the bag for fresh air that humidity may escape. So we need to find a balance.
There are plenty of ways to control the environment with humidifiers and other equipment. But for getting started a simple solution is just to cut a slit in the bag that allow some fresh air exchange without being so large that all the humidity gets out. A few times a day, give the bag a good squeeze / exhale and let it fill back up with delicious air.
It may take a few days of breathing & humidity but little pins will start to form. As they grow, increase the size of the slit or do more bag squeezing to let fresh air in. It’ll take a little bit of play to get the right conditions but mushrooms are quite forgiving.
Harvesting
Technically you can pick your mushrooms as soon as you’re physically able to. But according to the good people of the internet, the best time to pick them is just when the veil breaks.
This video shows it perfectly at starting at 0:41. Once you see that happening with your mushrooms, you know they’re ready to be picked
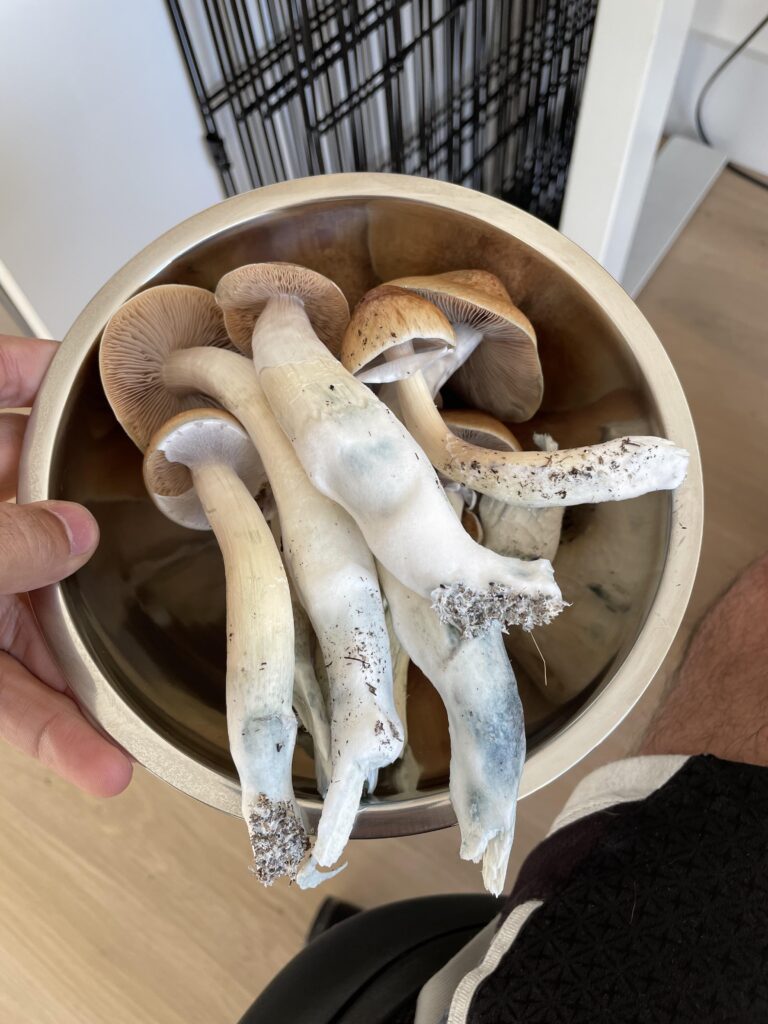
https://youtu.be/UNo6CxRcg3Q?t=41 To pick them, just give them a gentle pull/twist at the base. You won’t always get to pull one mushroom at at time by base. Often multiple mushrooms will grow from the same base, so I pull out the entire base. It shouldn’t take very much pressure to get them loose.
Mushrooms are sensitive and just touching them they’ll bruise / turn blue. It’s kind of sad in my opinion. So I try to be extra careful with them, despite the fact that I will soon grind them up into a find dust and consume them with my boiling hot tea.
It’s almost guaranteed that when you pull the base out, there will be some pieces of bulk substrate or grain stuck to the mushroom. You definitely don’t want to eat that because it will taste terrible. It’s hard to brush it off (you can dehydrate first, but it’ll stink everything up if you dehydrate inside). I just cut off the entire base with scissors so I never deal with the bulk substrate. Yes I lose some yield but I’m not looking for a max yield.
Storing
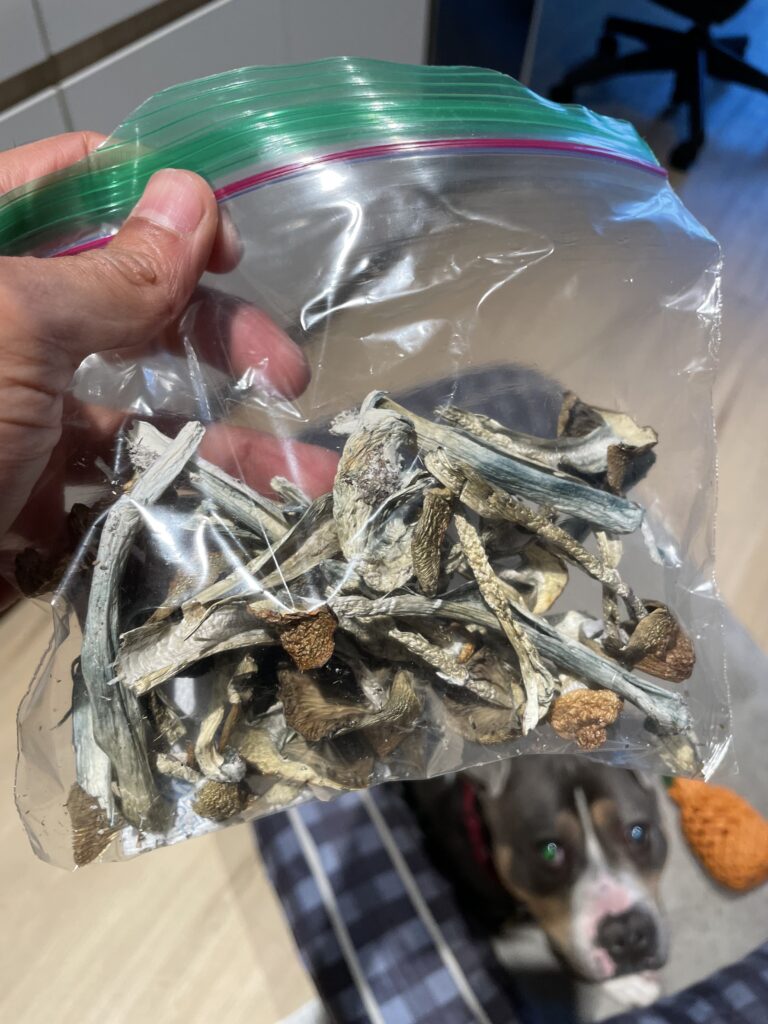
Unless you plan to consume all of your freshly grown mushrooms in the next week, it’s important to store them in a way that they’ll last a long time. The best method I’m aware of is to dehydrate them. I have a nice convection oven so I put all the mushrooms on a tray and let them sit at 127 F overnight. What people recommend is wait until your mushrooms are “cracker dry”. If you break one in half it should snap and crack, not bend.


It is normal for the mushrooms will shrink considerably when dehydrated A zip lock bag should work fine. I like mason jars. Just make sure it’s closed tight. For added protection, throw in one of those silica gel packets. You want the container to be dry. This minimizes risk of mold growing.
If you do it all right, the dried mushrooms will last a long long time.
Second flush
I won’t go into too much detail about this since hopefully your first flush is enough. But long story short, pour enough water in your grow bag that you can dunk the entire bulk substrate/mycelium block. Keep it dunked for a few hours, then pour out the excess water. The point of this is to ensure there’s enough water content in the bulk substrate which allows for humidity in the bag. Then, just repeat the process of letting the mycelium grow again to replace where you plucked mushrooms from the first flush. Wait it out, let it start pinning, then introduce fresh air and watch the magic happen all over again.
My second/third/etc flushes were never as impressive as my first flush. I think that’s expected as there aren’t as many nutrients to feed off of.
Resources to check out
Humblefungus on youtube
https://forestorigins.com/blogs/mushroom-blog-posts/the-mushroom-life-cycle
-
Video intros
We need to do away with video intros. Even 20s youtube videos have intro cuts. It’s dumb and a waste of time. I’m ready for an extension that skips the bullshit in any video